
Testing servos doesn’t require advanced electronics knowledge. Mastering a few simple and practical methods allows you to quickly assess their performance.
Why Test Servos?
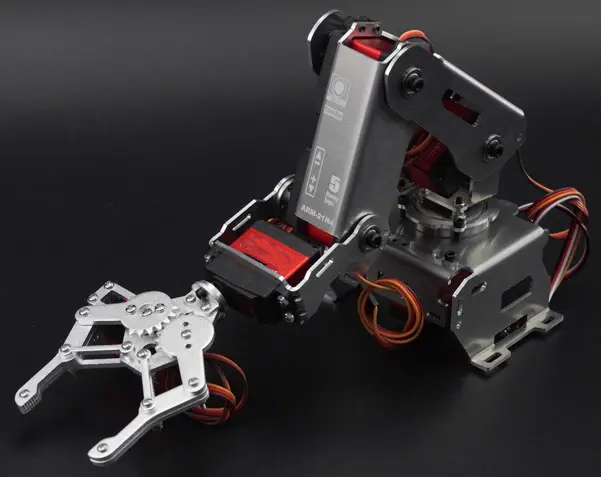
Servos contain motors, gear sets, potentiometers, and control circuitry. A problem in any of these components can cause the servo to malfunction. For example, a robot’s joints might suddenly jam, or a remote-controlled car might become unresponsive; in many cases, this is caused by a servo malfunction. Pre-testing prevents problems from being discovered halfway through a project, saving significant time and effort.
Testing helps you understand the true performance of the servo. Some servos may turn, but they might have potential problems such as insufficient torque, inaccurate centering, or excessive noise. With systematic testing, you can select high-performance servos for critical projects and use less powerful ones for less demanding scenarios, maximizing resource utilization.
How to Test a Servo Motor with a Multimeter
A multimeter is an effective tool for testing the integrity of a servo motor’s circuitry. Set the multimeter to the resistance setting and measure the resistance between the servo motor’s power supply terminal and ground. Normally, this resistance should be several hundred to several thousand ohms. If the resistance is zero or infinite, there is a high probability that the internal circuitry is short-circuited or open-circuited.
Next, measure the resistance between the signal line and ground. This resistance is generally quite high when the power is off. If a short circuit is found, it indicates that the control chip may be damaged. Although a multimeter cannot perfectly simulate the servo motor’s operating state, it can quickly eliminate serious circuit faults, especially when you have a batch of servos that need initial screening. This method is extremely efficient.

What to Pay Attention to During Servo No-Load Testing
No-load testing is conducted when the servo is not connected to any load. After power is on, gradually send control signals to the servo and observe whether its rotation is smooth. A healthy servo should rotate smoothly without any jamming or abnormal noise, and be able to accurately stop at the designated position.
Pay special attention to the accuracy of the servo’s return to center. Move the servo from its left extreme position to its right extreme position, and then give a command to return it to the center point. Check whether it can accurately return to the same position each time. If there is a significant error in returning to center, it is very likely that the internal potentiometer is worn or the gear backlash is too large. Such a servo is not suitable for applications requiring precise positioning.
The Correct Method for Servo Load Testing
Evaluating the performance of the servo in actual operation can be achieved through load testing. You can gently pinch the servo disc with your fingers to feel the force on the servo’s output shaft. A properly functioning servo should be able to resist moderate resistance and maintain its position. If even a slight force causes the servo to lose its position or stop rotating, it indicates insufficient torque.
A more professional approach is to use a spring scale or lever arm device for quantitative testing. Record the maximum holding torque of the servo under various voltage conditions and compare it to the nominal value. During testing, be careful not to let the servo remain stalled for extended periods, as excessive current could damage the motor or drive circuitry.
What do abnormal noises and vibrations in a servo indicate?
Alarms indicating internal problems in servo motors are often accompanied by unusually loud noises. Damaged gears or foreign objects stuck in them typically produce a clear “clicking” sound, while excessive power to the motor or gear stripping may cause a muffled humming sound. Poor potentiometer connections or unstable control circuitry often indicate continuous vibration noise.
Jitter is a particularly concerning phenomenon. If the servo head continuously oscillates within a small range, it may indicate a mismatch in PID parameters or a fault in the feedback system. In this case, even if the servo can rotate, it will not function stably in practical applications, especially for high-precision robotics projects or camera gimbals. Such servos require replacement or repair.
Safety Precautions for Servo Motor Testing
When testing servos, always check that the power supply polarity is correctly connected and that there is no reverse connection. Even a one-second reversal of the power supply can potentially cause permanent damage to the servo motor control chip. When using an adjustable power supply, start with a low voltage and gradually increase it to prevent sudden high voltage from damaging the delicate electronic components.
During testing, pay close attention to the servo’s temperature. A slight warm temperature is normal; however, if the servo becomes extremely hot to the touch within a short period, immediately disconnect the power and inspect it. This situation is highly likely due to a short circuit in the internal coil or excessive mechanical resistance causing overcurrent. For extended testing, it is recommended to use an intermittent operating mode to allow the servo sufficient cooling time, thereby extending its lifespan.
Post time: Nov-15-2025